
The Mental Tools - Lesson 5
Basic Elements of Surfboard Design - Flex & Rigidity

The Evolution of the Corky Method
I am currently making, what I like to call, Corky surfboards. This is about using a vacuum bag to laminate sheets of paulownia wood and cork onto a pre-shaped foam core. Although this is a long post, it is actually a very brief overview of this method of construction, which I call the Corky Method. In the future, we aim to share practical, comprehensive lessons on this type of surfboard construction.
The evolution of this method started in the early 1950s with Bob Simmons laminating thin plywood sheets to the top and bottom of an EPS core and then adding balsa wood for rails. The boards were light and fast but problematic. I once interviewed Bob Meistrell, the co-founder of Body Glove wetsuits, and he told me about his experience with his new Simmons boards. He, and his brother Bill, picked up two new Simmons and put them on the top of the car to drive from Los Angeles to Santa Cruz. By the time they arrived, there were major delaminations on the boards. It was a hot day and with the boards in the sun, the air in the EPS foam expanded and created a big air bubble which ran the full length of the boards. This problem of air expansion and delamination haunted this method for many decades. Sadly, Bob Simmons passed away in 1954.
In the 1980s, Bob McTavish did a similar construction with his sail boards. He would put plywood over an EPS blank and glue it with epoxy. He did not have a vacuum bag, so he would bury the boards in sand overnight to compress the wood to the foam.
In 1989, Surftech began experimenting with putting a thin layer of dense foam over light EPS cores. They mastered this technique with the vacuum bag technique and they conquered the delamination problem.
My first exposure to vacuum bagging paulownia onto an EPS core was with the great man Grant Newby, of the Gold Coast, Australia. In 2011 he started making fantastic, light boards with the most basic materials; a shaped EPS blank, a 7 mm sheet of paulownia, PU foaming glue, and vacuum bagging equipment (which is basic stuff). For years, 2009 to 2019 Grant hosted wood surfboard display days at Currumbin Alley. Many wood board makers came from around Australia and the world and this is where I was introduced to this new method. A network of wood board builders formed and this really kicked off a new movement in surfboard construction. Grant championed the Tom Blake culture of sharing information (and stoke) to wood board builders. I am forever grateful to Grant and his wife, Jackie, for their contribution to surf culture. Many surfboard makers, especially myself, learned so much from those days and their generosity.
For the first few years I was skeptical of Grant's process, but I eventually became another of his disciples. My shaping seemed to have hit a wall because I could not make the boards I was dreaming about. I wanted to make flexible finless boards and flexible noseriders like the ones from the late 1960s; for example the step decks and the stringer-less. Grant’s simple system opened the door for me.
Let's back up in time; 2009 - 2010
At that time I was working with Global Surf Industries (GSI) on making a finless board that would surf like an alaia, but paddle easily. I needed to get the flex of a thin wood alaia (15 mm thick paulownia wood) and add foam to give it floatation. I tried many construction methods and the one that worked best was a shaped EPS foam blank with two stringers glued to the rails, sealed with water based varnish.
We trialled many prototypes and as you can see here with the Bluegill in action. (Note, the red board in the first half was glassed. The white un-glassed board in the second half surfed better. Also, see the glue lines from repairs). However, this board would break during every session. (Cyrus Sutton and Ryan Birch had the same issues with their foam Lord Boards). I licensed this shape to GSI, which we called the Seaglass Project. GSI made a glassed version, named the Tuna, which had some flex. They also made a soft-top version that had great flex, called the Albacore. In these videos, Isaac Blyth test pilots the Tuna prototype and Harrison Biden tries out the first Albacore. GSI treated Margie and I well and these boards sold for several years. The Tuna even won an international design award. However, I could not replicate the feel of the Abacore in my own shed. This was a problem for me. I wanted to continue down the flexy-finless path.
Back to the drawing board; 2016
I tried so many things! I put stringers in, and plywood on the deck, but the boards would break doing bottom turns. I then realised I would get better bounce if I put plywood on the bottom and a bouncier flex was created as the EPS foam compressed and bounced back. However, the plywood only made flat bottomed boards and they still broke easily. I tried using lycra cloth as glass and painted on water based varnish. This had a very good flex, but the lycra left a sandpaper like finish and I couldn’t make it smooth. I cannot express how many boards I made, and broke, nor how frustrated I was.

I was very lucky to have a mentor, Bruce McConkey, who was a plastics genius and invented glues and coatings for boats (See in photo above). Bruce developed products for Boatcraft Pacific, and he had a little distributorship in a shed in Noosa. Bruce had been helping me since 2002 when I started making hollow wood boards. He taught me about his products and helped me create a simple vacuum bagging system. I shared my experiments and my problems with Bruce, and we decided that I needed 2 mm thick sheets of paulownia to make my ideal board. I had used up my vast stockpiles of lesser grade paulownia trying to make the flexible boards. The milling process to make these sheets created far more sawdust than sheets and I could no longer do it. Bruce was confident he could find a supplier for 2 mm sheets of paulownia, and he did.
I could not believe my eyes when I saw two cubic meters of 8 foot by 4 foot sheets of 2 mm thick paulownia in his shed! Now I could shape a foam blank and then vacuum bag the thin wood sheet to the foam and the wood will conform to the curves of the board. Paulownia can glue over complex curves like the rolled bottom on a noserider. It is like vacuum bagging wood over a spoon. This is amazing. The future looked bright! (Note, the 2 mm paulownia is not flexible enough to go around the rail. That is why I use cork for the rails).
Since I had made the GSI finless boards, seven years prior, there had been another big change in materials. Dense EPS and XPS foams were now available. Before, the only EPS available was the lighter density which absorbed water and expanded in the heat (like Simmons boards). I bought a 5 meter long cube of 32 kg density EPS and thick sheets of 32 kg Extruded Polystyrene sheets.
The first board I made with the new materials was one of my 12 foot models. I saw the potential for making longer boards with the sheets and the 5 meter block of foam. I cut the foam with a hot wire and glued a 2 inch paulownia stringer into the blank. I had some beautiful long pieces of paulownia from years before. They were seasoned and straight. They gave the board strength and a full wood feeling. I put two sheets on the bottom of the board, 6 mm of cork on the deck and 18 mm of cork on the rails. I made a fin from 18 mm marine grade plywood and only sealed it with varnish.
My family fell in love with this board. It surfed very well and it was extremely comfortable with the soft, cork deck and rails. The foam did not absorb water and the thick paulownia stringer gave the board a wonderful feel on a wave. For me, the board clearly set a new standard for surfboard performance. My daughter, Sunday Wegener, made a short film about the corky method evolution and this board features through the movie. You can find a link to Cork in Noosa at the end of this article.
Problems did arise within a few months. The cork on the deck filled with water and the board became very heavy. I cut off the soaked cork and applied a new 2 mm more dense cork, which did not absorb water. The cork rails did not absorb water, or so little that I could not measure it. The cork rails on a 12 footer ding easily, but the dings are very easy to patch. All you have to do is cut out the ding and add new cork. It takes about 15 minutes of work.
After two years of hard surfing the board was looking shabby so I cut off the old rails and cork deck and put new cork on. I re-sanded the bottom and had a new board. After seven years of regular surfing the board still rides like the first day. The original fin is a bit tattered, but I think I will put a new edge on the front of the fin made from dense cork. This will be a safety feature.
In my mind, this board clearly out performs the foam and fibreglass 12 footers I made in 1999 to 2002, and is much more user friendly than the hollow wood 12 footers I made in 2002 to 2011.
I moved away from the thick stringer for my longboards because I found that two paulownia sheets on the top and bottom are strong enough. I now use a stringerless shaped EPS core with 2 paulownia sheets on the top, two on the bottom. This works like the original corky 12 footer and has the wonderful wood feeling, but the deck is not as comfortable because it is wood and not cork. For my noseriders I found a new method for creating the flex pattern.
Tom’s Evolution in Flex; the answer finally presented itself
The answer was so obvious that it shocked me when I saw it. If you glue two sheets of paulownia together, they are still very flexible. If you put a 5 mm sheet of foam between them, you get a bouncy flex. If you glue 24 mm or 1 inch of foam between them you will get rigidity.
If you make a noserider where there is 5 mm of foam between sheets of paulownia in the nose and then a gradient of foam to a 1 inch thickness in the middle of the board and then make the foam 10 mm thick in the tail, you will get a wonderful flex pattern. And then you add foam to the deck for more floatation and glue cork to the rails to shape. This was the beginning of the Flexy Ultra-Noserider (FUN) board.
When I made my first FUN board, I was so stoked. As George Greenough says, “Controlled flex is the key to speed.” With a flexible front third of the board going into a rigid middle of the board, you can put a reverse rocker through the board when on the nose. This dramatically increases the speed across the wave. As the board flexes and bounces out of turns, it feels like getting double bounced on a trampoline. It adds a new dimension to dancing with the wave. Note, this is only for small waves and noseriding. It does not translate to waves over waist high. But, it adds a new life to small waves!
There is a long history of putting flex in noseriders from the late 1960s with the stepdecks and stringerless boards, to the 2000s with the Aviso carbon fibre hollow boards. I watched Christian Wach win three Noosa Festival of Surfing Noseriding pro divisions in a row on his. The Aviso had very springy flex, but was not a great board outside of its noseriding specialty in small waves.
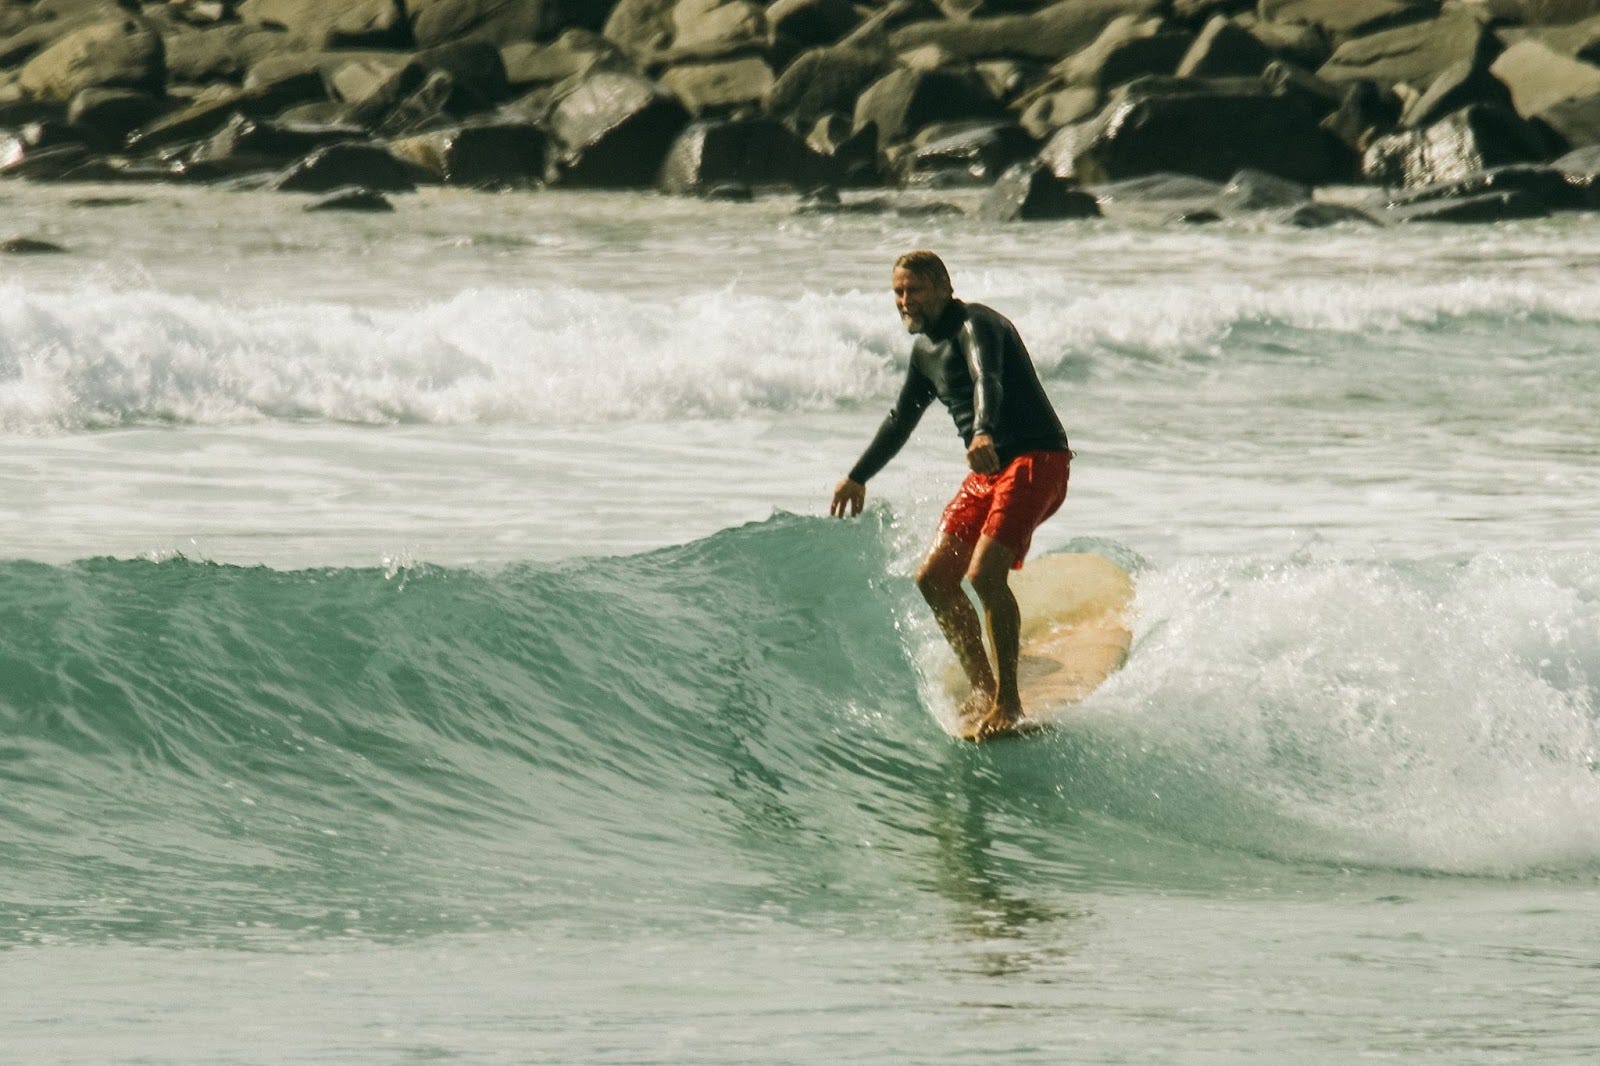
To test my FUN boards I went to First Point with three corky noseriders. One named Flopsy, which was the most flexible, another with some flex and another rigid board. There were three young surfers and I asked them to try the three boards in some very small surf on the points. They each came back saying Flopsy was by far the fastest and the most fun board in the small waves.
As I was experimenting with the FUN boards my hip was deteriorating. Getting to my feet was difficult and eventually became painful and embarrassing. However, I did get enough time on the board to dial it in. One aspect is when you are in a tight section and normally you would step back off the nose, you don’t have to. You put weight on the outside rail of the nose and the board will turn down the face from the nose like a snake and keep going. The wave can break on the board, but the flex sticks into the wave, even under the whitewash, and then you get the trampoline-like double bounce and spring through the section. It takes time to learn when the double bounce is going to happen and you have to be ready for the acceleration. I got just enough epic rides to feel confident that the board was a success. I was very lucky to have Joe Harding shaping with me at the time and he would test ride them while I filmed and made little clips.
Now back to the flexy finless; 2016 to present day
With my new understanding of how to create flex patterns, it was time to improve on my finless designs. This was a little hard for me to face because I could not get to my feet on them and I had a lot of experimenting ahead. I had to ride them prone and rely on my team riders for feedback. There was a lot of work to be done as well. For example, before I could make the board I imagined, I needed to make a mould of the bottom of the board. This means I had to shape the bottom of the board and make a mould of it so I could reproduce the shape. Making moulds is pretty tricky stuff.
My starting point was the last finless board I made two years earlier with a wood bottom and two thin stringers in an EPS core. It had cork rails and a thick cork deck which tended to get waterlogged. The deck cracked but the bottom was not totally broken so I put the board back together. I tried putting 2 inches of reverse rocker in as an experiment. When I tried the board, it worked great. It caught waves easily and trimmed very fast across waves. I would start the design around this reverse rocker design. Here is a video of this board by Jahmin Lerum on this board.
One note about finless boards and reverse rocker: When you catch a wave with a finless board, the rail grabs the face of the wave and the tail drifts out. You can hold your edge or drift sideways down the wave. The reverse rocker helps you catch the wave. As the swell feels the tail of the board, the foam floats and pushes the board forward. It feels like a swim fin kicking down giving a bit of a boost.
The first step to making the board was to put two sheets of 2 mm paulownia and a 15 mm layer of foam on the mould and glue it together in the vacuum bag. The bottom of the board was shaped in the mould and the three layers would hold the contours of the mould. I would then sand the foam from the back half end of the board tapering it down to 5 mm of foam. I made the foam very thin through the tail and left the thickness in the front half, but thinned it again close to the tip of the nose. I then put two more layers of 2 mm paulownia sheets and another inch of foam on to the deck, and back in the vacuum bag. After that I would refine the template, glue cork on the rails, shape the deck, and then add cork to the deck. The board went in and out of the vacuum bag each step, but with Bruce McConkey designing the foaming PU glue’s drying times, the board would only be in the bag for 30 minutes or so. Often vacuum bagging takes hours for the glue to dry.
The finished board had a flex gradient from a flexy tail to a more rigid middle, and then slight flex in the tip of the nose. Without fins on the surfboard, all the other elements of the board are much more pronounced or important. The flex pattern makes the board so much easier to ride and perform carving turns.
I hope my fellow surfboard artisans take up this method of shaping flex patterns into their surfboards. It is fun and brings lots of opportunities to try new things. The corky method has some big advantages. You do not need to glass them. Varnish is fine. With finless boards you do not need fin boxes or fin systems. For the back yard board maker, fins are such a headache and you really do not need them on shortboards.
I was very fortunate to have three great test pilots; Joe Harding, Simon Pettiford and Gus O’Malley.
Developing the boards in Noosa featuring Gus O’Malley
Cork in Noosa by Sunday Wegener